Custom tactics in FIFA 17 are powerful tools that allow you to tailor your team’s behavior on the pitch by adjusting a series of sliders controlling how your AI teammates act. Especially in offline modes like Career Mode or Kick Off, these settings are essential because they optimize how your team attacks, defends, and transitions, helping you get the most out of your tactical approach against the AI. This guide targets offline players, breaking down every tactic slider, providing practical presets to suit common playstyles, and showing you how to apply and fine-tune these tactics with your Career Mode squad.
Using custom tactics effectively means you control your team’s tempo, defensive resilience, and creative output rather than relying solely on default preset tactics. For example, managing a difficult opponent becomes easier when you adjust pressure and positioning to exploit AI weaknesses. By mastering these settings, you’ll enjoy a more responsive and results-driven single-player experience. We will start by explaining each slider’s function in detail—that’s the foundational knowledge needed before you can craft winning custom tactics.
Summary:
- Custom tactics shape AI team behavior offline, crucial for modes like Career.
- This guide offers a slider breakdown, practical presets, and Career Mode application.
- Benefits include gameplay tailored to your style and better match control.
- Next: Understanding each slider for stronger tactical command.
Understanding FIFA 17 Custom Tactics: The Essentials
In FIFA 17, custom tactics refer to adjustable in-game sliders that influence how your team performs strategically. Located under Team Management > Tactics, these settings let you fine-tune aspects like passing speed, defensive pressure, and attack positioning beyond the preset tactical templates such as Ultra Attacking or Defensive. Unlike presets, custom tactics give a granular level of control, allowing you to shape your team’s style to your exact preferences and opponent.
The impact extends beyond mere aesthetics—custom tactics directly affect AI decision-making in offline modes, modifying how your teammates off the ball position themselves, how aggressively they press, and how they construct attacks. This adjustment is crucial because even offline AI opponents require tactical nuance to outsmart effectively.
Key Terms:
- Custom Tactics
- User-defined slider settings for detailed team strategy customization.
- Preset Tactics
- Pre-made styles like “Balanced,” “Ultra Attacking,” or “Defensive” providing broad tactical frameworks.
- Player Instructions
- Individual player-specific orders such as “Stay Back While Attacking” influencing individual behavior.

For example, default tactics might have your team pressing moderately with average attacking positioning, while a custom tactic can make your midfielders press intensely or hold a tighter shape. Mastering these settings will prepare you to dive deep into each slider’s role.
Complete Breakdown: Every Custom Tactics Slider and Setting Explained
Build Up Play: Speed, Passing, Positioning
- Speed
- Determines the pace of ball progression from defense to attack. Low values slow build-up play, favoring patient possession. High values push players to move the ball quickly, suitable for counterattacking. Recommended: Use low speed for possession teams; high speed for fast break strategies.
- Passing
- Ranges from Short to Mixed to Long. Low values favor short, controlled passes, helping maintain possession. High values increase risk with long passes aiming to bypass defensive lines quickly. Recommended: Select short for technical teams, mixed or long for direct play or wing-oriented teams.
- Positioning
- Controls attackers’ off-ball movement during buildup. “Organized” keeps players in structured positions; “Free Form” liberates players to find dynamic spaces. Recommended: Organized is safer tactically; Free Form can create unpredictable attacking angles but may leave gaps.
Chance Creation: Passing, Crossing, Shooting, Positioning
- Passing
- Focuses on chance creation passes. Low values mean conservative, low-risk passes. High values increase attempts at through balls and risky passes inside the box. Recommended: High for creative teams with skilled attackers; low for controlled, possession-orientated styles.
- Crossing
- Determines frequency and accuracy of crosses from wide areas. Low values reduce crossing attempts; high values encourage wing play and targeting aerial threats. Recommended: Increase when playing with strong headers or target men.
- Shooting
- Dictates shooting frequency and shot selection. Low makes players more selective and cautious; high increases shooting attempts, including long shots. Recommended: High for teams with confident shooters or when trailing and needing goals.
- Positioning
- Controls attacking players’ off-ball runs into goal-scoring areas. “Organized” holds players’ shape; “Free Form” encourages fluid movement. Recommended: Use Free Form for creative, fluid attacks; Organized for disciplined teams.
Defence: Pressure, Aggression, Team Width, Defensive Line
- Pressure
- Adjusts how soon players start pressing after losing possession. Low pressure means a more passive defense; high pressure causes players to swarm the ball aggressively. Recommended: High pressure for “Gegenpressing” styles but be cautious with low-stamina squads.
- Aggression
- Influences how often players attempt tackles and interceptions. Low aggression means conservative defending; high makes the defense riskier and more physical. Recommended: High aggression can disrupt opponents but risks fouls and counters.
- Team Width
- Controls horizontal spacing of defenders and midfielders. Narrow width tightens the defense but may leave flanks vulnerable; wide spreads players, covering more pitch but risking gaps centrally. Recommended: Narrow for compact teams; wide for counteracting wing-centric opponents.
- Defensive Line
- Sets how far upfield the defensive line pushes. A high line compresses space but risks through balls behind defenders. A deeper line shields slower defenders but concedes space. Recommended: Adjust based on defenders’ pace and opposing attackers.
Summary Table:
| Slider | Range | Effect | Recommended Use |
|---|---|---|---|
| Build Up Speed | 1-100 | Slow to Fast ball progression | Slow for possession, Fast for counters |
| Build Up Passing | Short to Long | Short, Mixed, Long passes | Short for control, Long for direct play |
| Build Up Positioning | Organized to Free Form | Structured vs. dynamic player movement | Organized for shape, Free for creativity |
| Chance Creation Passing | Low to High | Risk from safe passes to through balls | High for creative, Low for control |
| Chance Creation Crossing | Low to High | Frequency/accuracy of crosses | High for wing play, Low for possession |
| Chance Creation Shooting | Low to High | Cautious to frequent shooting | High for aggressive, Low for selective |
| Chance Creation Positioning | Organized to Free Form | Attacker movement behavior | Free for fluid attack, Organized for discipline |
| Defence Pressure | Low to High | Passive to aggressive pressing | High for pressing teams, Low for stamina saving |
| Defence Aggression | Low to High | Tackle frequency and risk | High for disruption, Low for safety |
| Defence Team Width | Narrow to Wide | Compactness or coverage of defense | Narrow for central solidity, Wide to cover flanks |
| Defence Line | Low to High | Defensive depth on field | High for quick defenders, Low for slow defenders |
Recommended FIFA 17 Custom Tactics Presets for Offline Playstyles
Possession Play (Barça-Style)
- Build Up Speed: 35 (slow, patient buildup)
- Build Up Passing: 60 (short and mixed)
- Build Up Positioning: Organized
- Chance Creation Passing: 65 (frequent through balls)
- Chance Creation Crossing: 25 (limited crossing)
- Chance Creation Shooting: 40 (selective shooting)
- Chance Creation Positioning: Free Form
- Defence Pressure: 50 (balanced pressing)
- Defence Aggression: 40 (moderate tackling)
- Defence Team Width: 45 (narrow compactness)
- Defence Line: 40 (moderate defensive line)
Rationale: This setup emphasizes control through short passing and patient build-up while encouraging creative attacker movement to break down defenses. Defensive settings complement a compact, possession-focused style that conserves stamina.
Player Instructions: Midfielders on “Stay on Edge of Box for Cross,” Fullbacks “Join the Attack.”
Best for: Technical teams with skilled midfielders and comfortable ball handlers.
Warning: Avoid very high pressure to conserve stamina during long possession spells.
Fast Counter Attack
- Build Up Speed: 80 (fast transitions)
- Build Up Passing: 50 (mixed)
- Build Up Positioning: Free Form
- Chance Creation Passing: 55 (moderately risky)
- Chance Creation Crossing: 60 (frequent wing play)
- Chance Creation Shooting: 75 (aggressive shooting)
- Chance Creation Positioning: Free Form
- Defence Pressure: 65 (high pressing to regain ball fast)
- Defence Aggression: 70 (tough tackling)
- Defence Team Width: 60 (wider to cover flanks)
- Defence Line: 70 (high defensive line)
Rationale: This tactic capitalizes on quick counterattacks by speeding up buildup and encouraging forwards to make aggressive runs. The defense presses high to win possession early.
Player Instructions: Strikers on “Get in Behind,” Wingers on “Stay Wide,” CDMs on “Cut Passing Lanes.”
Best for: Teams with fast attackers and defenders capable of playing high line.
Watch out: High pressure and defense line can expose you to long balls if defenders lack pace.
Crossing/Target Man
- Build Up Speed: 45 (moderate)
- Build Up Passing: 40 (favoring longer passes)
- Build Up Positioning: Organized
- Chance Creation Passing: 40 (low risk)
- Chance Creation Crossing: 80 (high crossing frequency)
- Chance Creation Shooting: 50 (balanced)
- Chance Creation Positioning: Organized
- Defence Pressure: 40 (moderate, reactive)
- Defence Aggression: 35 (low, to avoid fouls)
- Defence Team Width: 50 (balanced)
- Defence Line: 50 (mid-level)
Rationale: Focuses on flying crosses and aerial duels targeting a strong striker in the box while maintaining a stable defensive base and conservative build-up.
Player Instructions: Striker on “Target Man,” Wingers on “Get Into Box For Crosses.”
Best for: Teams with tall forwards good in the air or when wing play is a key strength.
Reminder: Avoid overcommitting in defense to reduce susceptibility to counters.
Balanced (Beginner Friendly)
- Build Up Speed: 55
- Build Up Passing: 50 (mixed)
- Build Up Positioning: Organized
- Chance Creation Passing: 50
- Chance Creation Crossing: 50
- Chance Creation Shooting: 50
- Chance Creation Positioning: Organized
- Defence Pressure: 50
- Defence Aggression: 50
- Defence Team Width: 50
- Defence Line: 50
Rationale: A well-rounded setup providing balanced options across attacking and defensive parameters suited for new or casual players still exploring their style.
Player Instructions: Standard settings without aggressive or extreme instructions to let players ease into tactics.
Best for: Beginners or players using mixed or average squads.
Tip: This can serve as a foundation for tuning as experience grows.
Fine-Tuning Custom Tactics: Adapting to Your Team in Career Mode
Adjusting your custom tactics according to your team’s strengths is key to success in Career Mode. Start by assessing your squad’s attributes, including pace, stamina, and technical skill. For example, if your defenders are slow, lower the defensive line to prevent opponents exploiting space behind. Conversely, with quick attackers, raise Build Up Speed and Defensive Line to enable aggressive pressing and fast breaks.
Next, analyze your opponent’s style. Facing an AI team that plays direct long balls? Increase Team Width in defense and lower Pressure to avoid overcommitting. Encountering possession-focused AI? Higher Pressure and Aggression can disrupt their rhythm.
Saving and switching between tactics in Career Mode is straightforward: you can store multiple custom tactics under team management and select them pre-match or during halftime, allowing in-game flexibility.
Checklist Before Each Season:
- Review new player additions and adjust tactics to suit their strengths.
- Check for injuries and fitness levels—high-pressure presets can fatigue your team faster.
- Consider youth integration balance—simpler tactics can help younger players adapt.
Pro Tip: Regularly test multiple tactics in friendlies or early season matches to find what works best. Mid-season tweaks maintain competitive edge as squads evolve.
Example: Signing a pacey striker? Boost Chance Creation Speed and Passing to exploit their runs better.
How to Set Up and Assign Custom Tactics in FIFA 17 Menus (With Images)
Accessing and setting custom tactics is intuitive once familiar with the menus. Follow these steps:
- From the main menu, navigate to Team Management in offline modes like Career or Kick Off.
- Select your team, then enter the Tactics tab.
- Here you’ll find sliders grouped into Build Up Play, Chance Creation, and Defence.
- Adjust each slider according to your desired tactic or use presets as starting points.
- Once adjusted, save your custom tactics under a new name to recall later.
- To assign tactics before a match, select the saved custom tactic in the team setup screen.
- In Career Mode, multiple tactics can be stored and switched via the D-pad or pause menu during matches.
Troubleshooting: If your tactics don’t seem to apply in matches, ensure you saved the tactic correctly and have selected it before kickoff. Sometimes, exiting and restarting the game after changes helps solidify the settings.
FAQ and Troubleshooting for FIFA 17 Custom Tactics (Offline Play)
Q: Why do my custom tactics not seem to work during matches?
Ensure you have saved the custom tactic and selected it before starting the match. Also, some AI behaviors may override tactics slightly. Try toggling tactics during the match or restarting the game.
Q: How often should I adjust tactics in Career Mode?
Adjust at the start of every season or after significant player changes like transfers or injuries. Mid-season tweaks after observing opponent strengths can also be beneficial.
Q: Can I use the same tactics across all formations and offline tournaments?
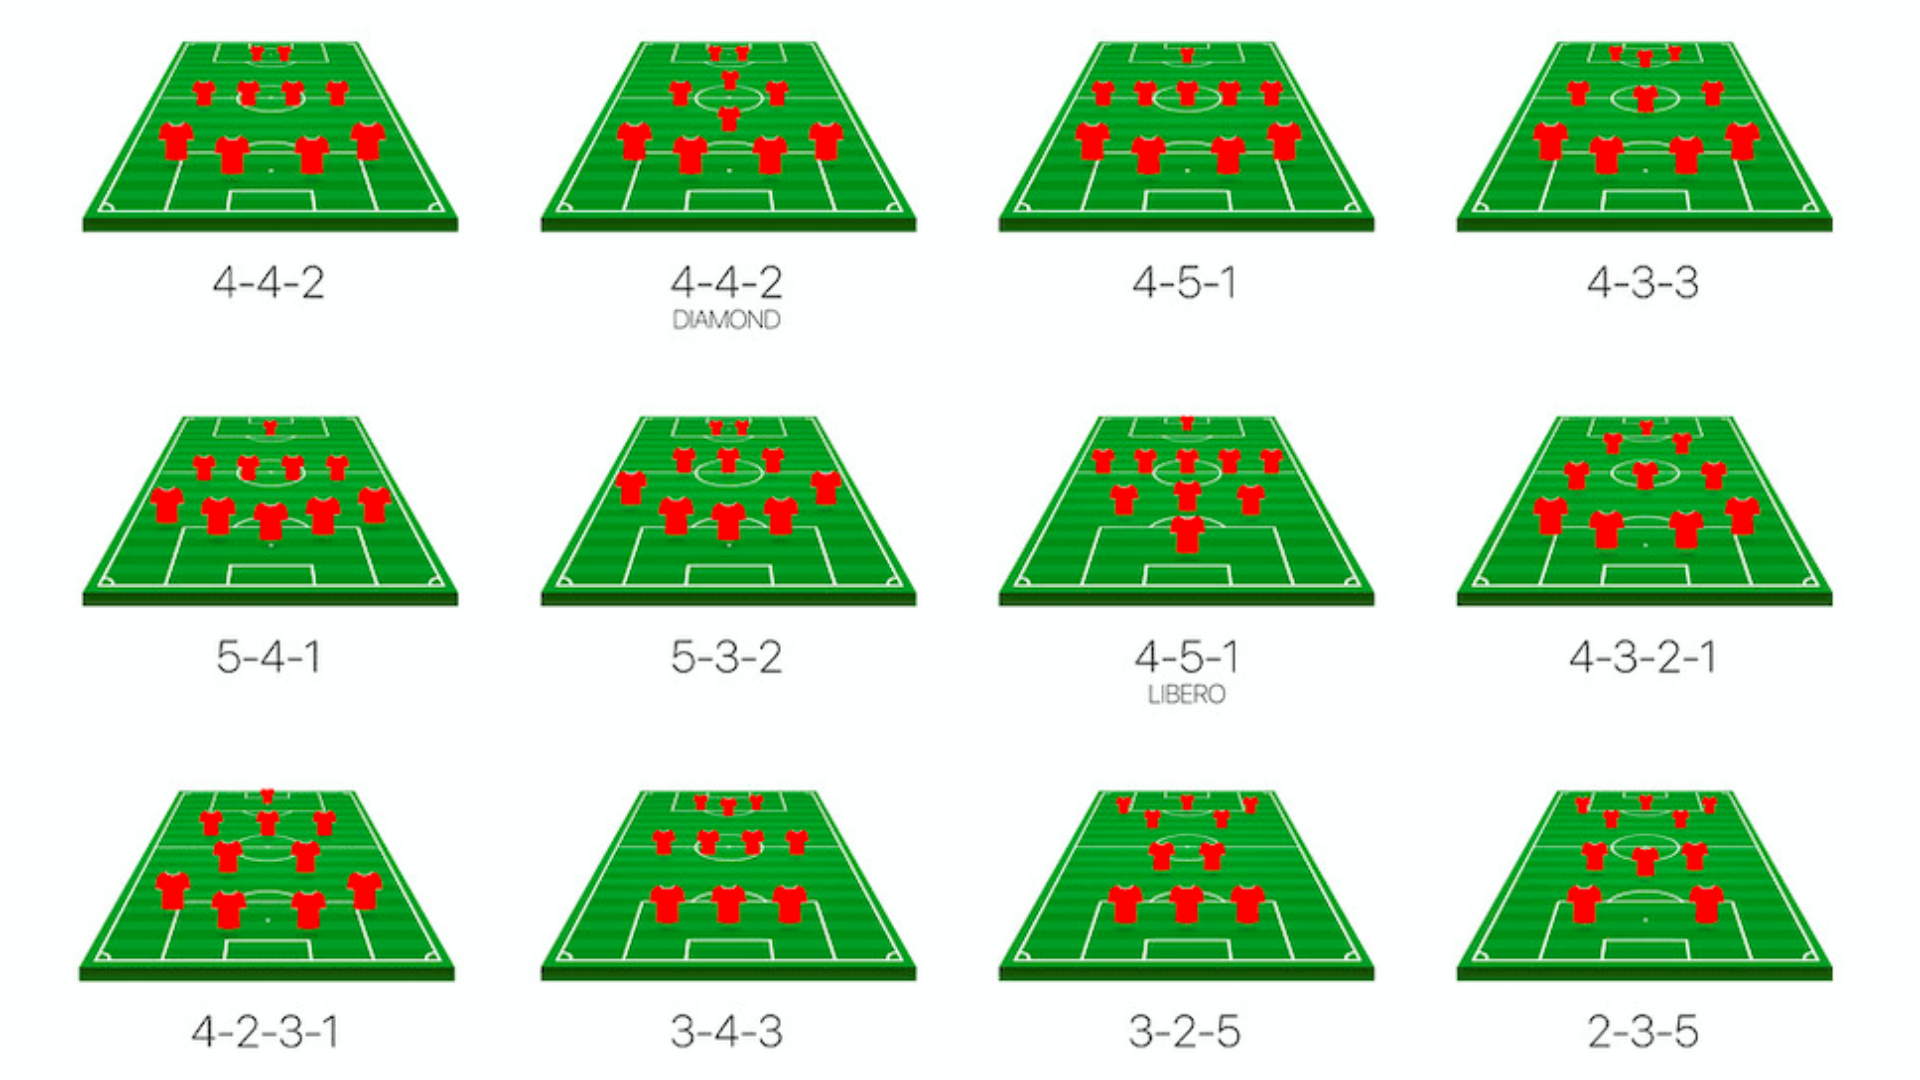
It’s best to adapt tactics to formations and opponent styles. A build-up tactic effective in a 4-3-3 may not translate well to a 5-4-1.
Q: Do custom tactics reset after patches or updates in FIFA 17?
Typically, tactics are retained, but it’s wise to back up your settings. Some patches may affect AI behavior, requiring minor retuning.
Q: How do I recognize if the AI is exploiting my tactical weaknesses?
Watch for opponents capitalizing on space behind your defense or breaking through high pressure. Adjust defensive line or pressure sliders accordingly to counter.
Supplemental Insights: Key Differences Between Offline and Online Custom Tactics
Custom tactics behave differently depending on whether you’re facing offline AI or human opponents online. Offline AI responds predictably and rigidly to slider adjustments, allowing you to devise systems that consistently exploit known weaknesses. In contrast, online opponents adapt quickly, exploiting static tactics and requiring dynamic in-game adjustments.
Offline:
- AI follows tactics closely, allowing methodical playstyles.
- Customization directly improves match control against AI weaknesses.
Online:
- Human opponents counter fixed tactics with unpredictable behaviors.
- Requires flexible tactics and reactive in-game changes.
Use different custom tactic sets accordingly. For offline Career Mode, detailed, specialized tactics outperform generic presets. Online, favor balanced or flexible tactics to avoid predictability.
Quick Reference Tables: All Sliders and Presets At a Glance
| Slider | Range | Effect |
|---|---|---|
| Build Up Speed | 1-100 | Ball progression pace |
| Build Up Passing | Short – Long | Pass length and risk |
| Build Up Positioning | Organized – Free Form | Attacker movement style |
| Chance Creation Passing | Low – High | Through-ball frequency |
| Chance Creation Crossing | Low – High | Cross chance frequency |
| Chance Creation Shooting | Low – High | Shooting risk and frequency |
| Chance Creation Positioning | Organized – Free Form | Attacker runs off the ball |
| Defence Pressure | Low – High | How aggressively players press |
| Defence Aggression | Low – High | Tackle attempt frequency |
| Defence Team Width | Narrow – Wide | Defense horizontal spacing |
| Defence Line | Low – High | Depth of defensive line |
| Preset | Build Up Speed | Passing | Crossing | Shooting | Pressure | Best For |
|---|---|---|---|---|---|---|
| Possession | 35 | 60 | 25 | 40 | 50 | Technical, patient buildup teams |
| Counter Attack | 80 | 50 | 60 | 75 | 65 | Fast, direct teams with pace |
| Crossing | 45 | 40 | 80 | 50 | 40 | Wing-based play with tall forwards |
| Balanced | 55 | 50 | 50 | 50 | 50 | Beginners and all-purpose teams |
Related Tips & Further Reading (Supplemental)
- EA Tactics Guide for FIFA 17 – Official tips on setting tactics.
- FIFA Tactics Forum – Community discussion and advanced strategies.
- Video Tutorial: Mastering Custom Tactics in FIFA 17 – Visual learning for tactical setups.
Top 3 Offline Tactics Mistakes to Avoid:
- Overusing high pressure without considering stamina drain.
- Neglecting defensive line adjustments for slower defenders.
- Ignoring player instructions which complement custom tactics.
Conclusion
Mastering FIFA 17 custom tactics empowers you to control every phase of play, from cautious possession buildup to high-intensity pressing. Understanding each slider’s function unlocks tactical literacy essential for shaping your preferred style. Use the presets as reliable templates and adapt them to your team’s strengths and opponent’s weaknesses, especially in Career Mode where squad dynamics change regularly. Setting and saving multiple tactics ensures versatility in match situations. Whether aiming for precise, possession-based football or rapid counterattacks, custom tactics give you the managerial edge needed to succeed offline. Remember, tactics are not static—continually test, tweak, and enjoy the process of creating a style that fits you and your team perfectly.


![[DTCL] How to Combine Items in Teamfight Tactics Season 3 2020 23 [DTCL] How to Combine Items in Teamfight Tactics Season 3 2020 22](https://softbuzz.net/wp-content/uploads/2020/07/cach-ghep-do-dau-truong-chan-ly-xeng-vang_softbuzz_1.jpg)